Beretta 1301 Optic Setup: Why the Holosun 507K-GR and C&H Mount Work So Well
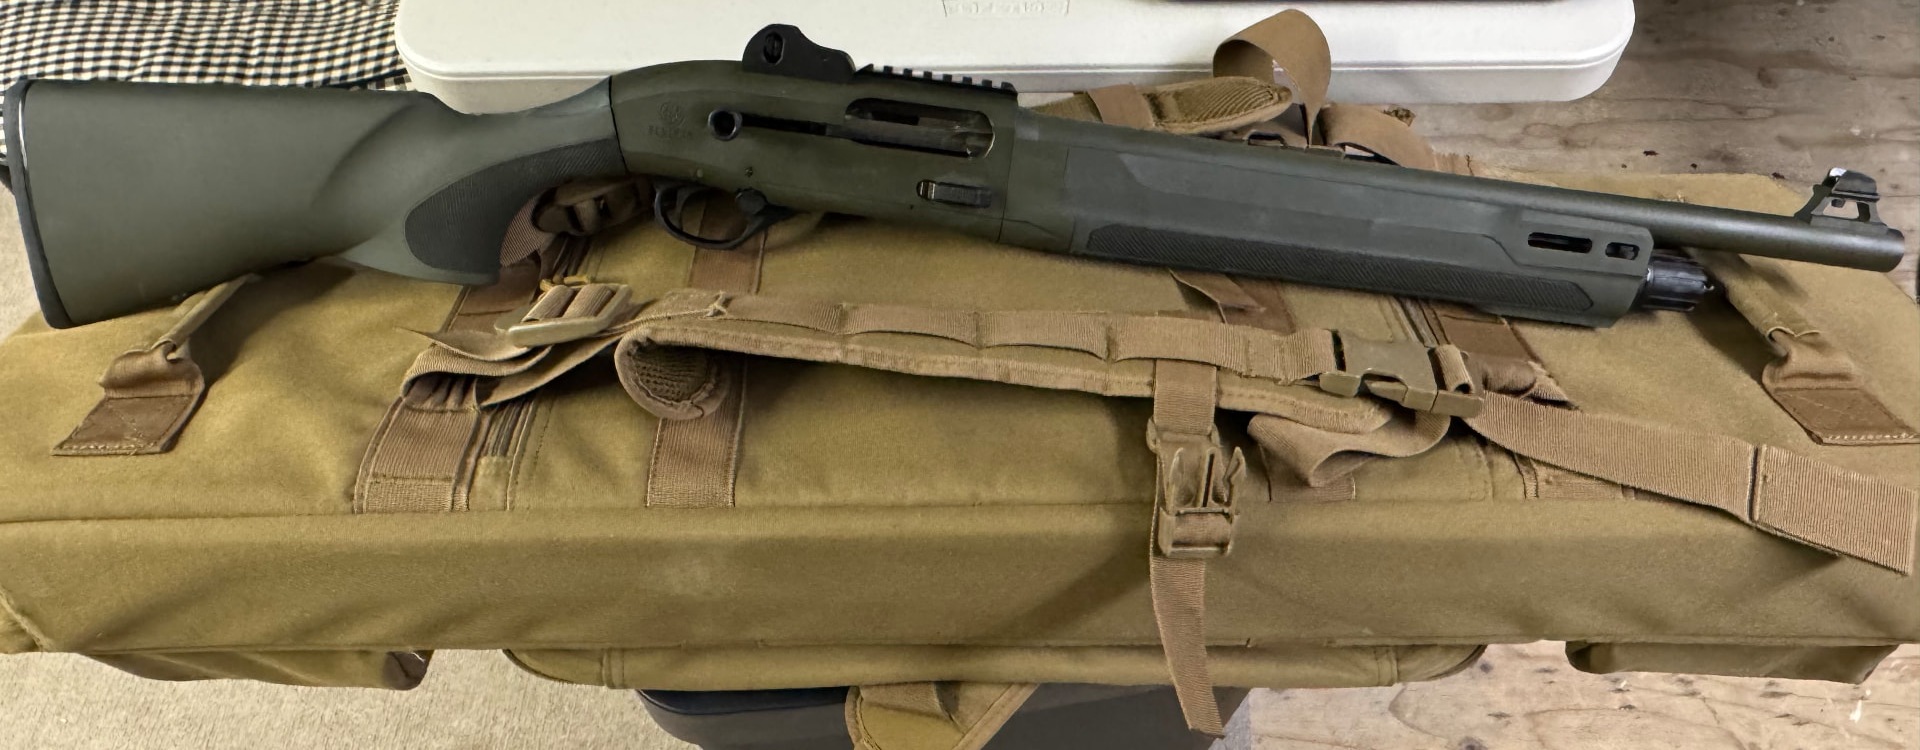
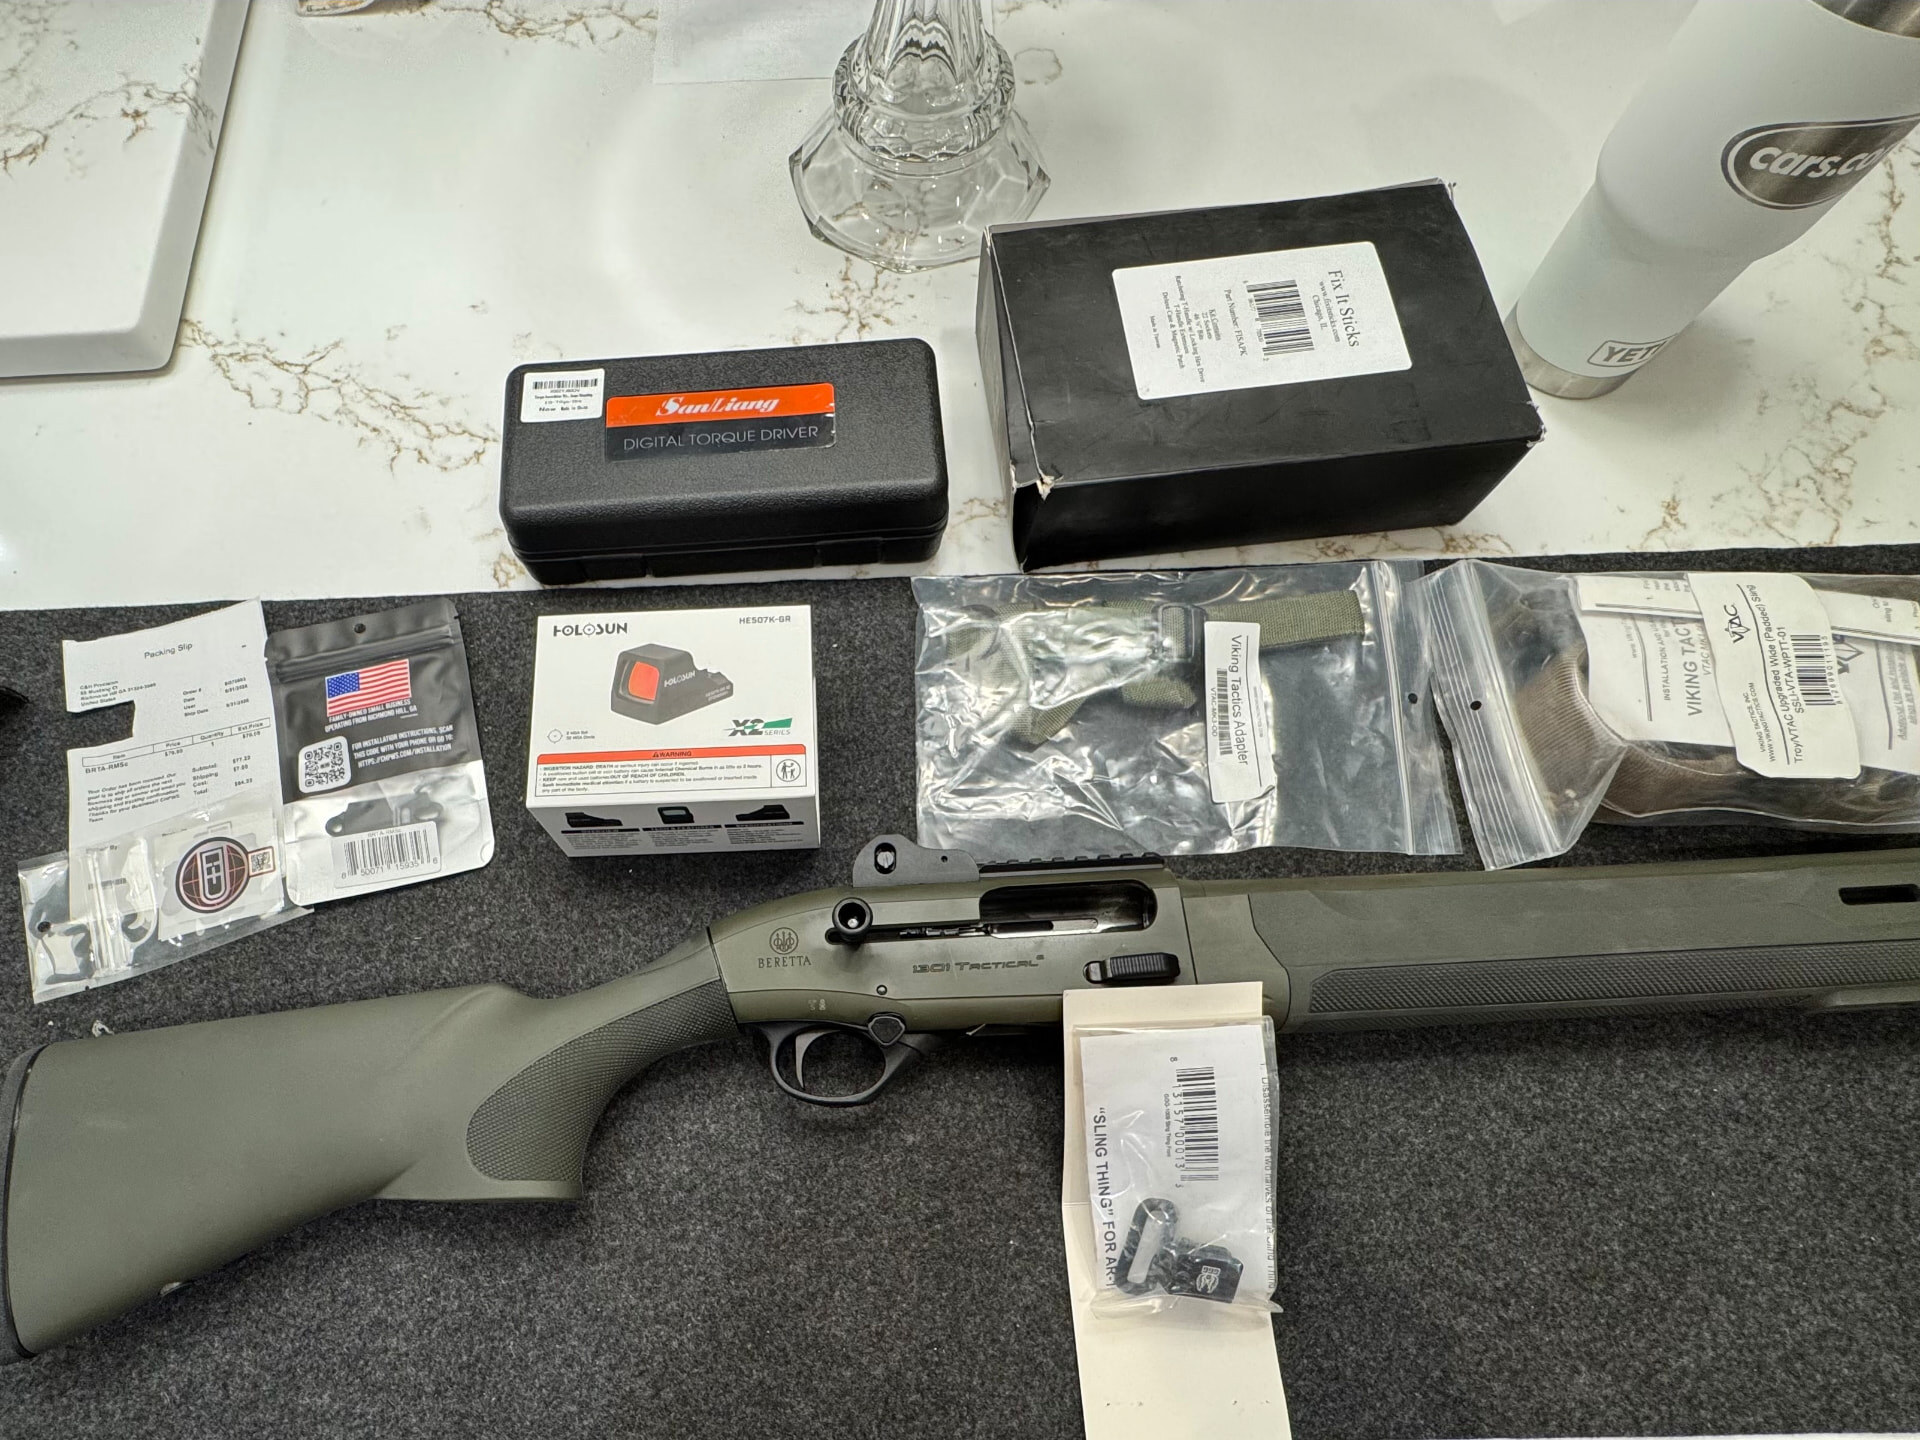
The Holosun 507K-GR and C&H Precision BRTA-RMSc plate turned out to be an excellent combination on my Beretta 1301 Tactical.
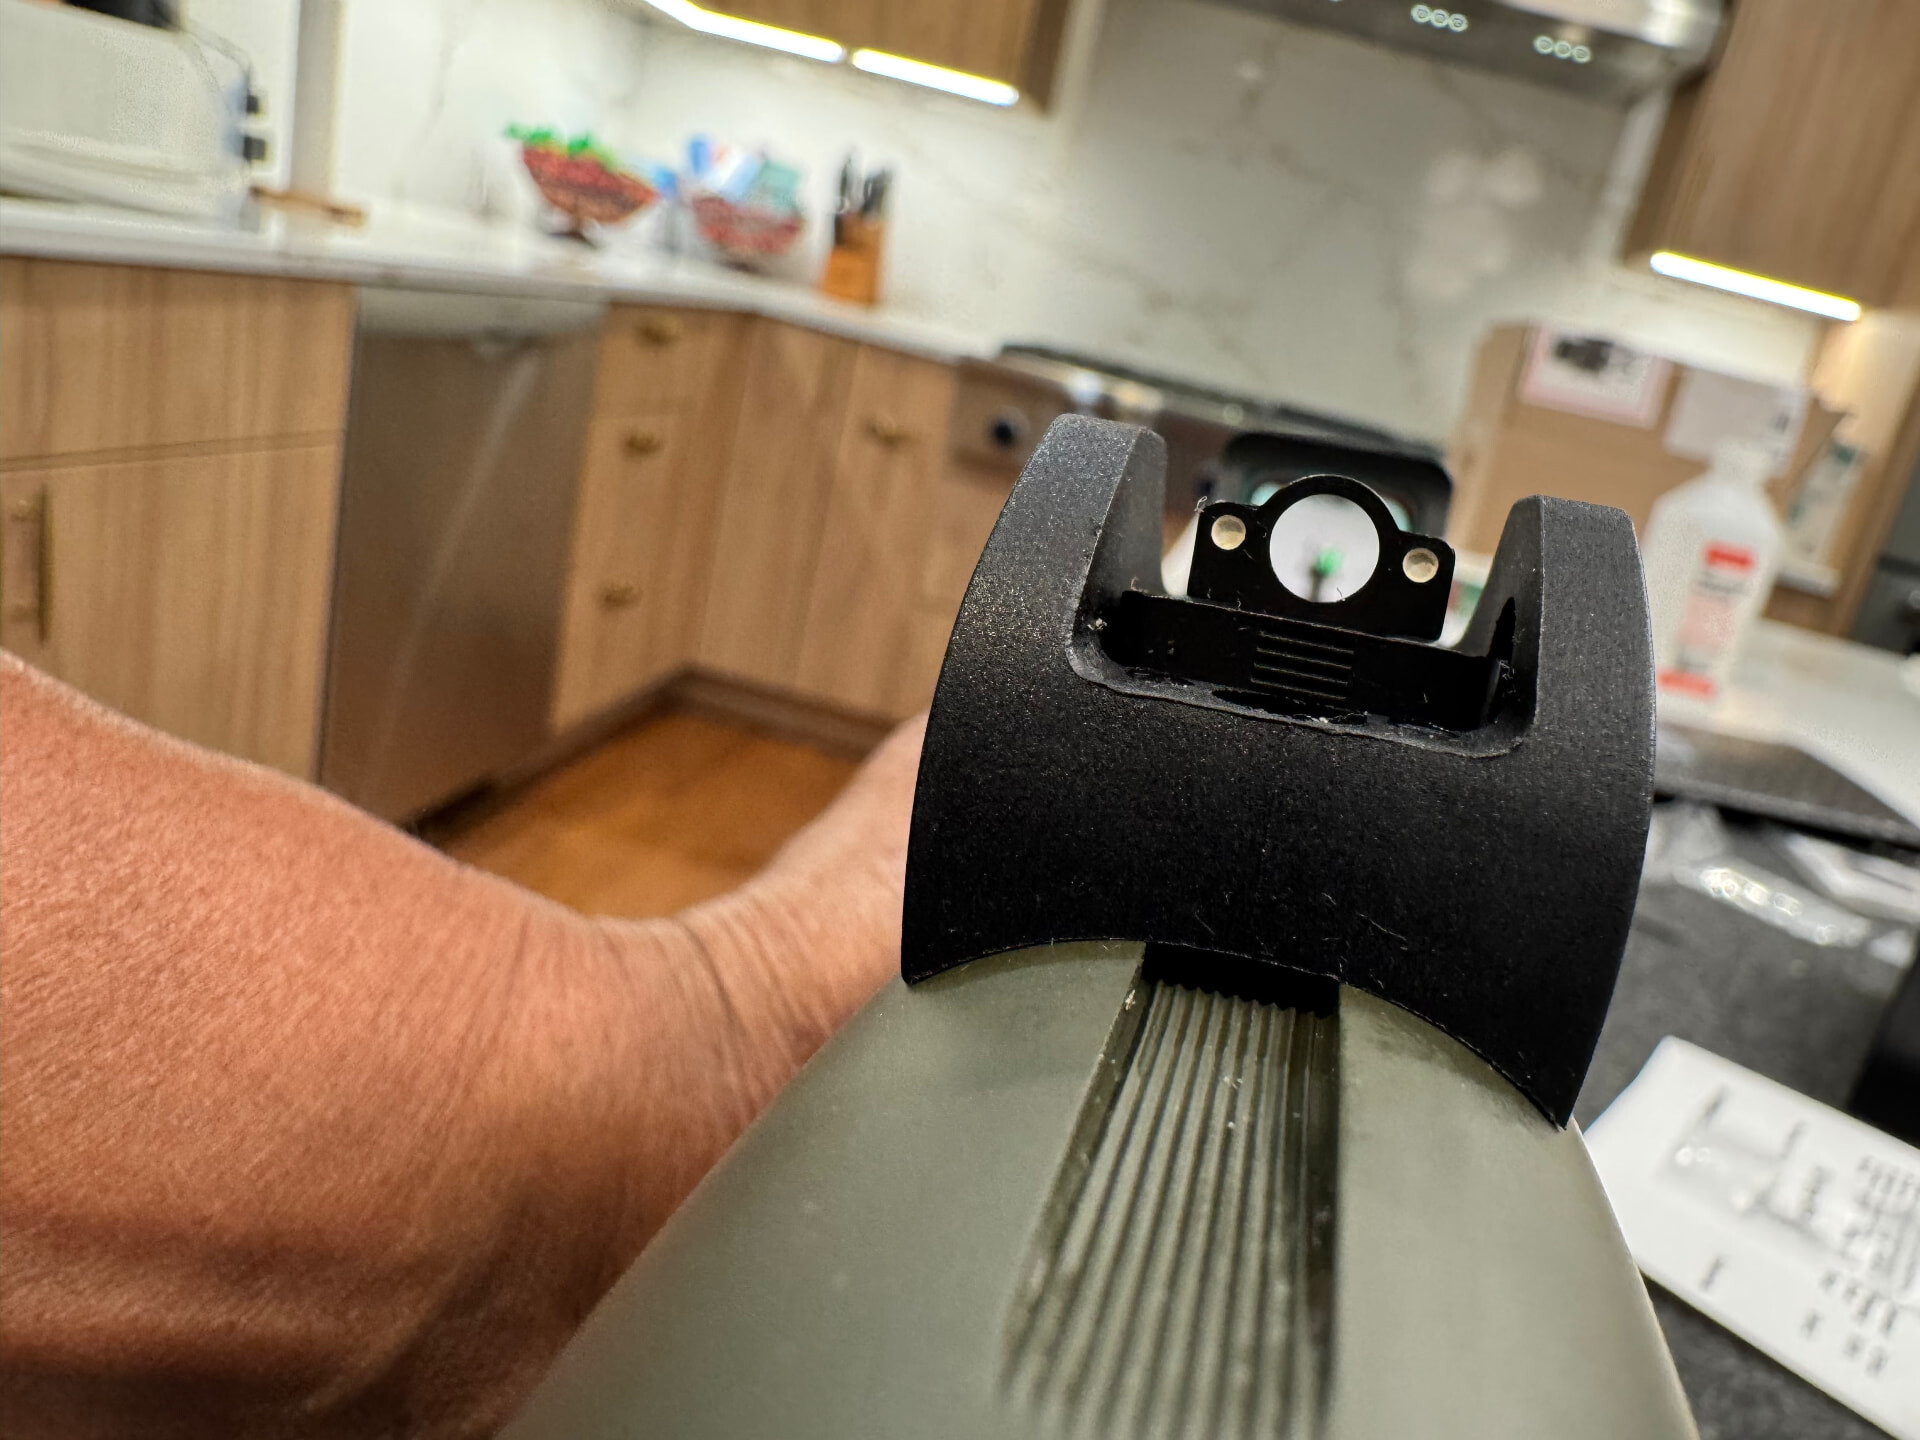
I finally mounted the optic on my Beretta 1301 Tactical, and the finished setup is even better than I expected.
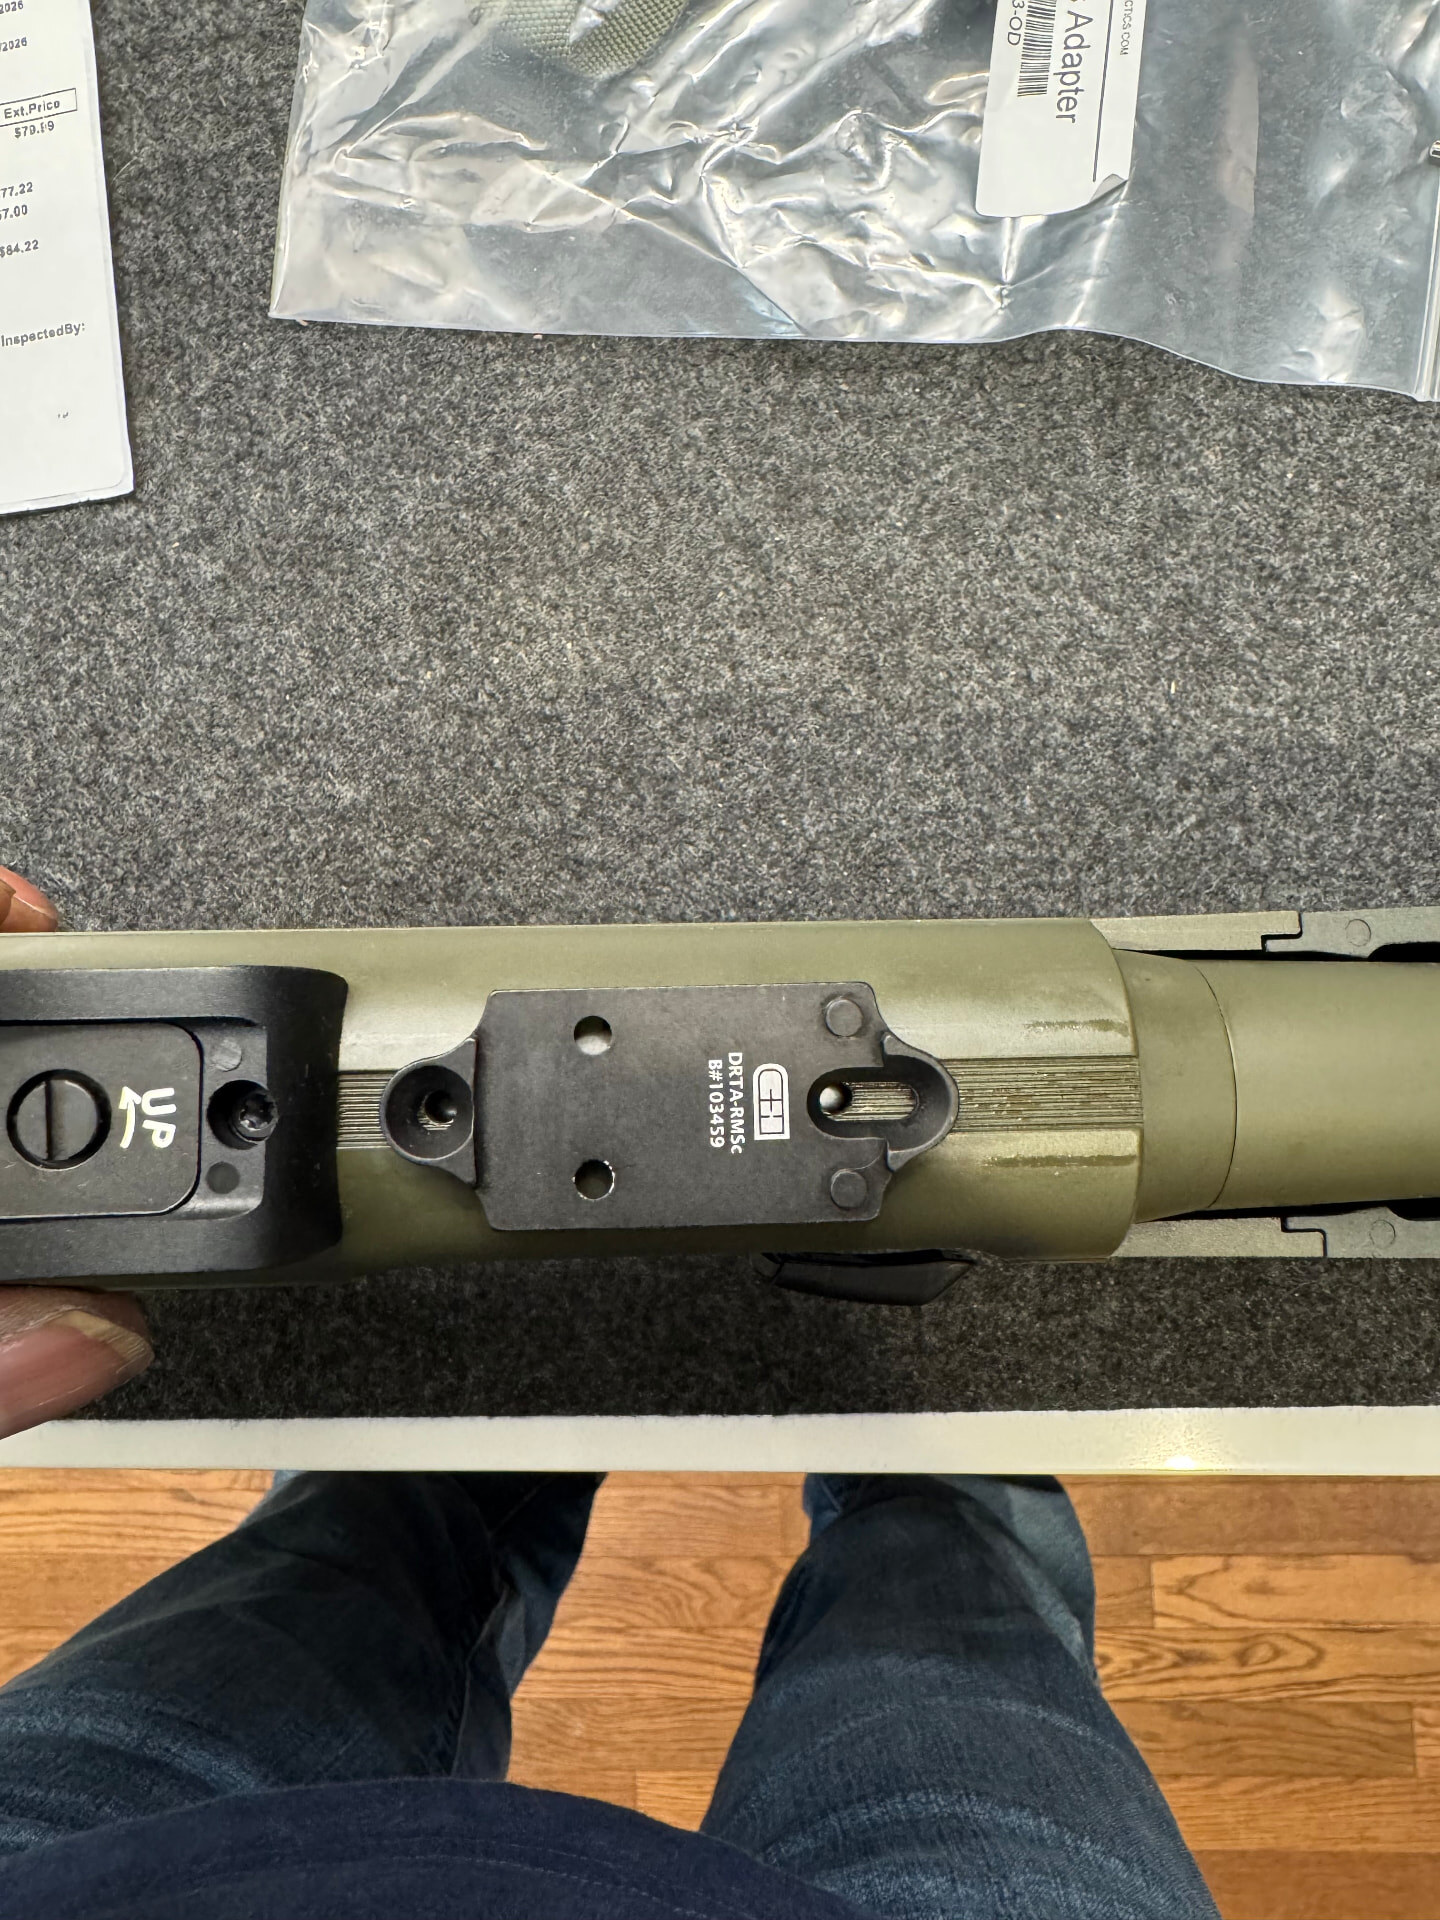
I went with a Holosun 507K-GR X2 on the C&H Precision BRTA-RMSc direct-mount plate. I already knew I liked the 507K platform, but this combination on the 1301 really sold me on it.
And yes, the dot is green.
That matters to me more than it probably does to some shooters. I simply prefer green reticles, and once I turned this one on and looked through the finished setup, I knew I had made the right choice.
Why I Chose a Low Direct Mount
The Beretta 1301 Tactical comes with excellent ghost-ring sights, and I did not want to give them up just to add an optic.
That was one of the main reasons I went with the C&H direct-mount plate instead of simply putting a red dot on top of the factory Picatinny rail.
The lower the optic sits, the more natural the cheek weld remains and the better the chances of retaining a usable relationship with the factory irons.
That turned out even better than I expected.
The Co-Witness Is Excellent
The biggest surprise of the entire installation was the co-witness.
The C&H plate keeps the 507K very low over the receiver. Looking through the optic, the factory ghost-ring sights sit low in the window while leaving most of the glass completely open for the green dot.
The irons are there when I want them without dominating the sight picture.
That is exactly what I wanted from an optic-equipped defensive shotgun.
If the optic is working, my eye goes straight to the green dot.
If the optic ever fails, the factory sights are still right there.
No awkward head position. No towering optic mount. No feeling like I have to lift my cheek off the stock to find the dot.
The setup simply feels natural.
The Installation Had One Unexpected Wrinkle
The C&H mounting system uses two separate sets of supplied hardware.
The M4 × 6 mm screws secure the C&H plate to the Beretta receiver.
The 4-40 × .345 screws secure the Holosun 507K to the C&H plate using the supplied T-nuts.
C&H’s installation material shows fitting and torquing the optic to the plate first.
I followed that process and torqued the 507K to the plate.
Then I discovered something important.
With the 507K installed on the BRTA-RMSc plate, the optic blocks access to one of the two receiver-mounting holes — specifically the hole closest to the muzzle.
That means you cannot simply torque the optic permanently to the plate and then mount the completed assembly to the shotgun.
The practical sequence is:
1. Fit the optic to the plate and verify everything seats correctly.
2. Install the T-nuts and confirm the optic screws engage properly.
3. Remove the optic from the plate.
4. Mount the C&H plate to the Beretta receiver.
5. Reinstall the Holosun 507K.
6. Torque the optic screws to their final specification.
It is a small detail, but one worth knowing before starting the installation.
Hardware and Torque
The C&H kit supplied the hardware needed for both connections.
Plate to Beretta receiver
M4 × 6 mm screws
C&H’s general installation guidance places larger mounting hardware in the 20–25 in-lb range. I used the low end of that range.
Holosun 507K to C&H plate
4-40 × .345 screws supplied by C&H
I torqued these to 15 in-lb.
The supplied screws already had thread-locking material applied, so I did not add additional thread locker.
As always, use the hardware supplied for the specific plate and optic combination rather than assuming the screws packaged with the optic are correct for an aftermarket mounting plate.
Why This Setup Works
What I like most about this setup is that nothing feels compromised.
The 507K is compact.
The green reticle is fast and easy for me to pick up.
The optic sits low.
The factory ghost-ring sights remain fully usable.
The cheek weld feels normal.
And the entire package looks like it belongs on the shotgun rather than something stacked on top of it.
The 1301 already has a reputation for being fast-handling, and this optic arrangement seems to preserve that characteristic rather than fighting it.
The Green Dot Sealed It
I have used both red and green handgun optics, and I continue to come back to green.
On the 1301, the green 507K immediately stands out against the sight picture without overpowering it.
Combined with the low C&H mount and factory sights sitting beneath it, the result is one of the cleanest shotgun sight pictures I have used.
I am extremely happy with it.
Next Step: The Range
Installation is only part of the story.
The next step is zeroing the 507K and seeing how the setup performs with the ammunition I actually use in the 1301.
That means getting back to the range with Federal LE133 00 buck, confirming the zero, checking the relationship between the dot and the factory irons, and seeing how quickly the green dot presents during actual shooting.
Based on the sight picture I am seeing now, I am expecting good things.
I will report back after the range session.
Want to shoot instead of read?
If a note like this is part of how you're deciding what to buy, a firearm selection consultation covers the same ground with your hands on the gun. Private instruction and range sessions in Montclair and Northern New Jersey — beginner-friendly, one-on-one, and built around your goals rather than a course catalog.
Field Notes reflects personal experience and general product research. Firearms, ammunition and accessories should be used only in accordance with manufacturer instructions and all applicable laws. MyRangeBuddy content is not legal advice.